Installing the FS21 sensor
In this article, you will learn how to install the FS21 sensor in four simple steps.
This guide is all about installing the FS21 sensor. The FS21 allows you to capture up to 10 times more data than others on the market, delivering regular insights straight to your dashboard. It enables pinpoint accurate farming and helps growers make the right decisions at the right time.
In this article, you will learn how to install the FS21 sensor in four simple steps.
Step 1 – Charging the battery
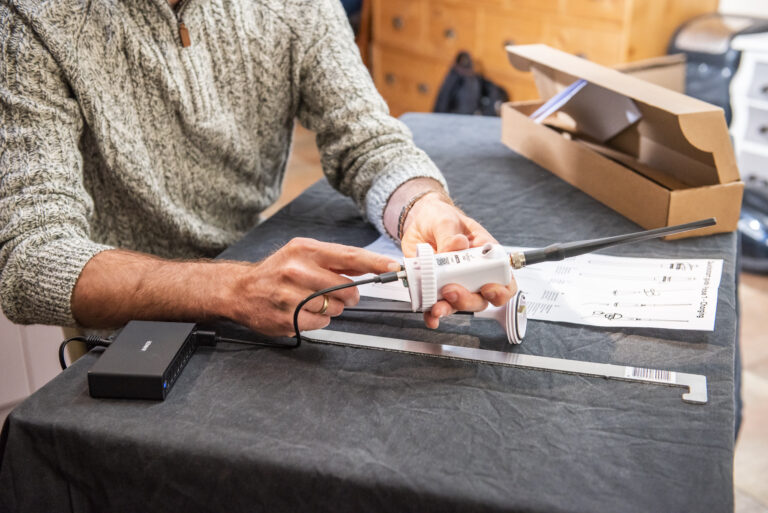
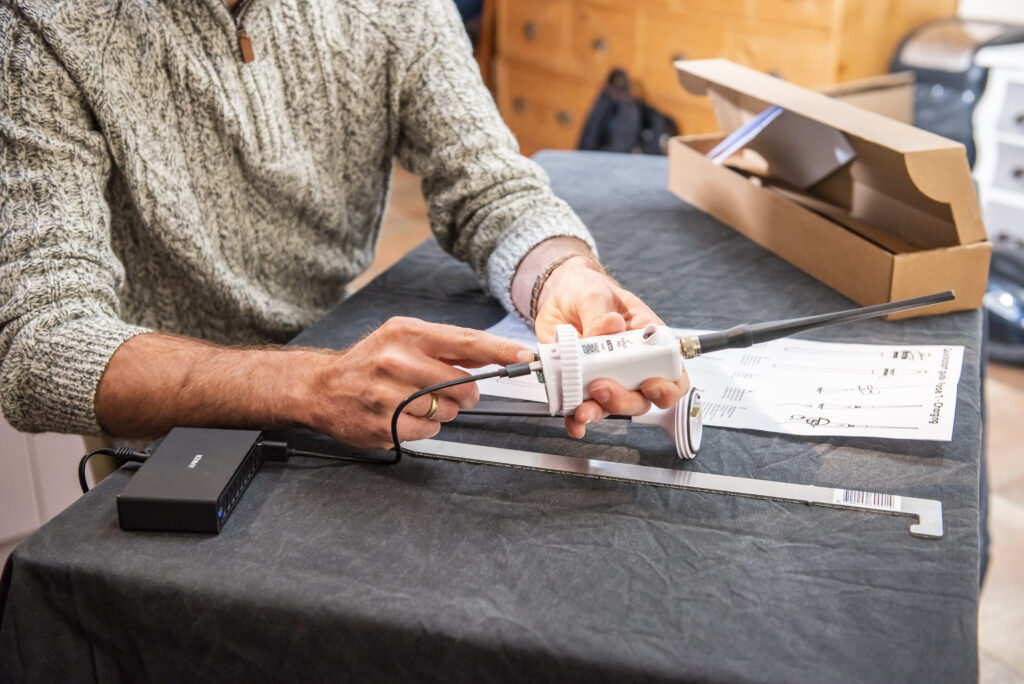
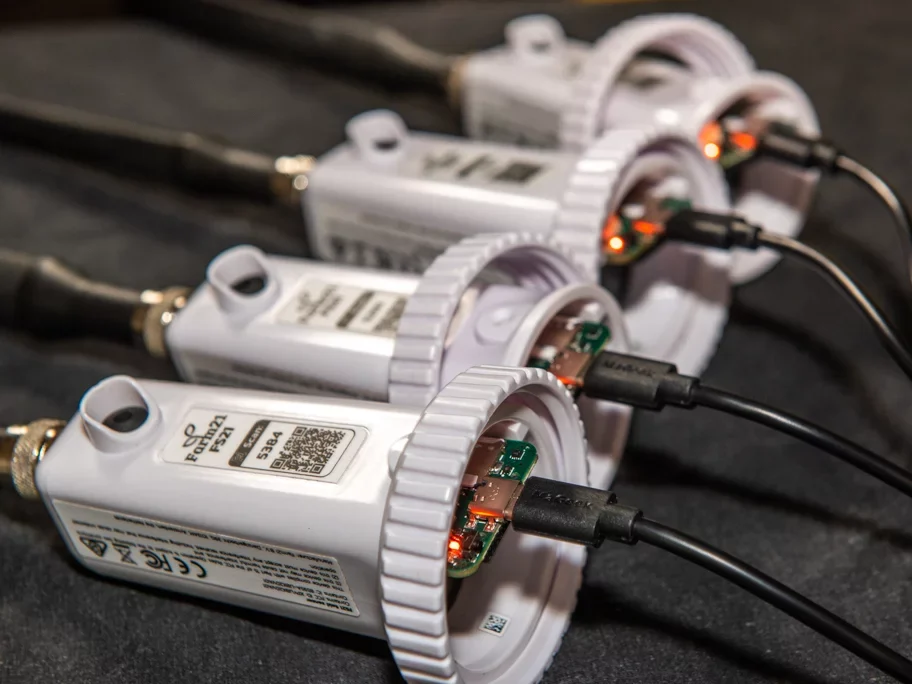
First, unpack the sensor, connect the antenna and then charge the battery. To do this, remove the ring, detach the probe and connect it with a USB-C cable to a charger.
Now press the button for five seconds until the light flashes green. If the orange light is on, it means it’s not yet fully charged. The battery is only fully charged when the orange light has turned off.
Charging the sensor may take a couple of hours, so it’s best to charge it overnight. If you have multiple devices we recommend that you charge them all at the same time.
Once the orange light is off you can remove the cable. Attach the probe and tighten the ring, to prevent dust or water from getting inside.
If you don’t want to install the sensor now, press the power button for ten seconds to turn it off and conserve the battery. If you do want to go ahead with the installation now, you can leave it on.
Step 2 – Creating fields on the Farm21 platform
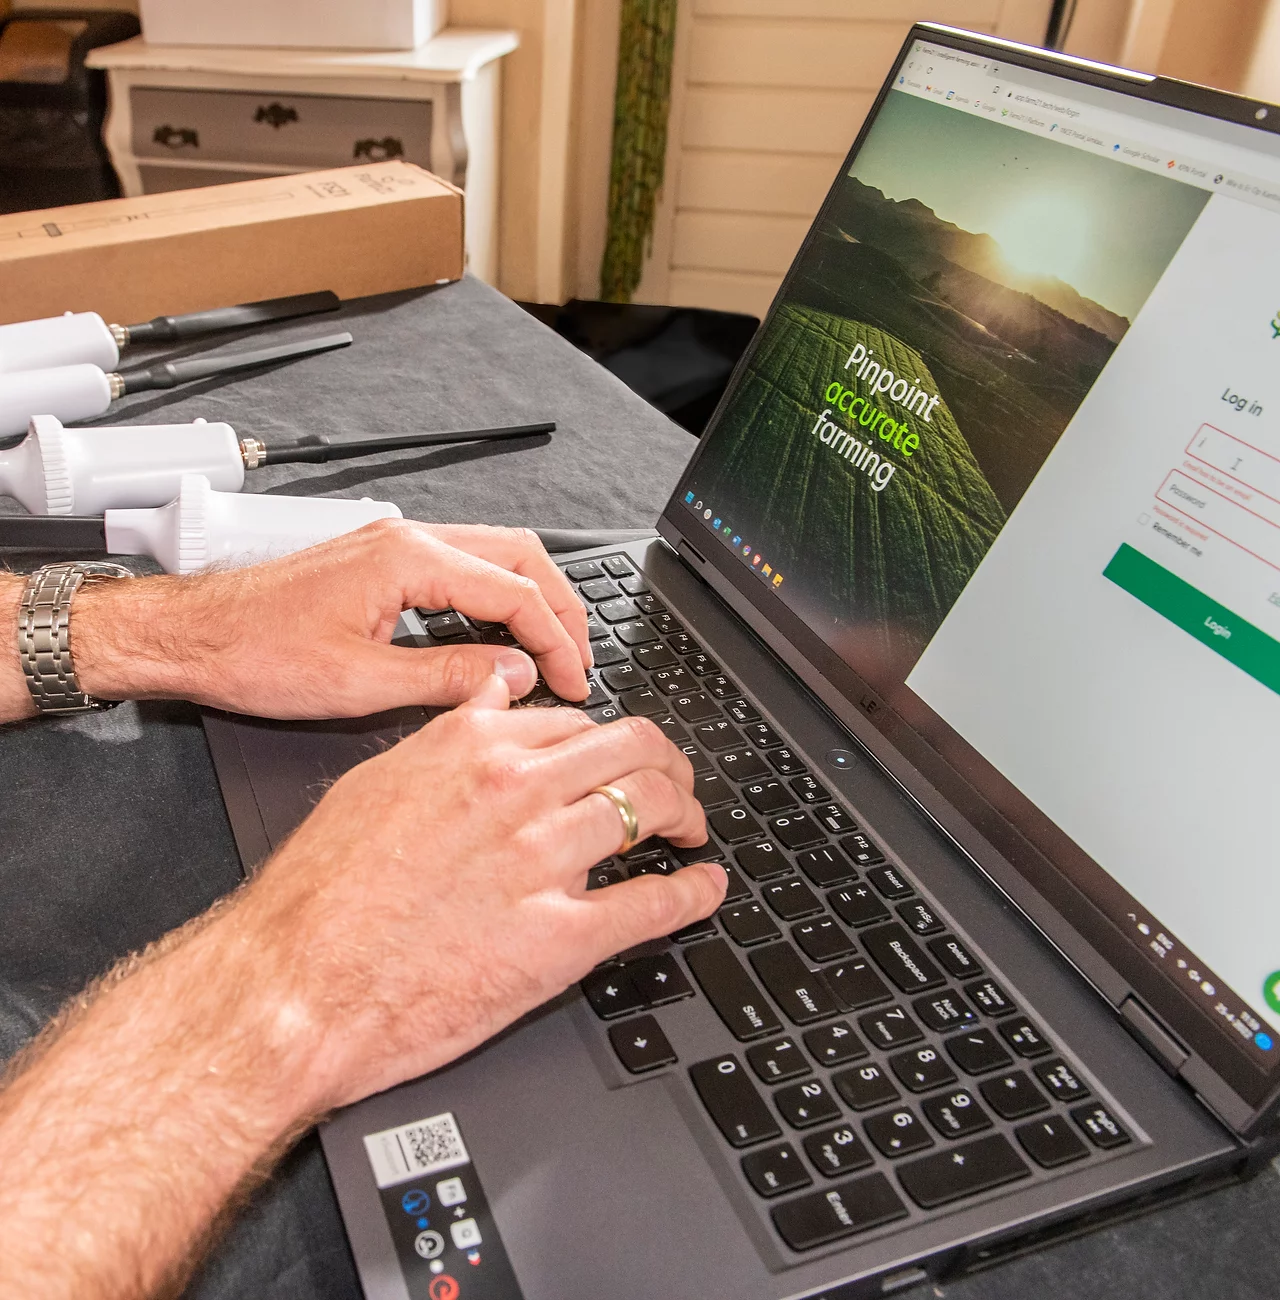
In this step, you need to log in to your Farm21 account. If you do not have an account already, you can create one by going to Farm21.com, pressing login, and selecting “create an account”. After you have filled in the details, you can proceed to log in.
Once you are logged in, you can start creating your fields on the platform. Go to the “fields” page and press the “plus”, draw the boundaries and name your field. Repeat this step for each one of them.
This will give you a geographical overview of all your fields. Now, the sensor is ready to be placed in the field.
Step 3 – Placing the sensor in the field
For this step, you first need to choose the best location for your sensor. This is determined by your knowledge of the field, the data sources you want to gather such as soil scans or yield measurements, and also the advice given by your crop advisor.
We do not recommend installing it on drive paths.
Once the exact spot has been determined you are ready to place the sensor. You will also need the supplied installation peg, a marker like a flag or a stick, a hammer, and your phone. If the sensor is turned off, turn it on by pressing the button for 5 seconds until the light flashes green.
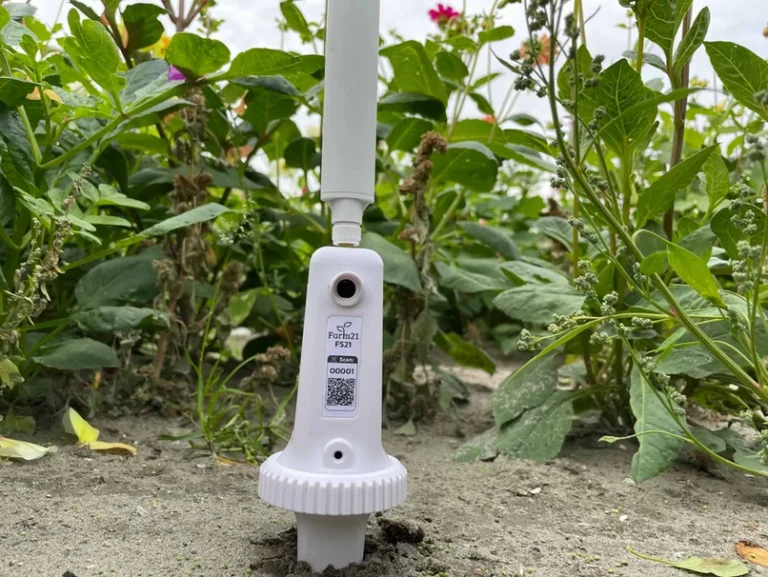
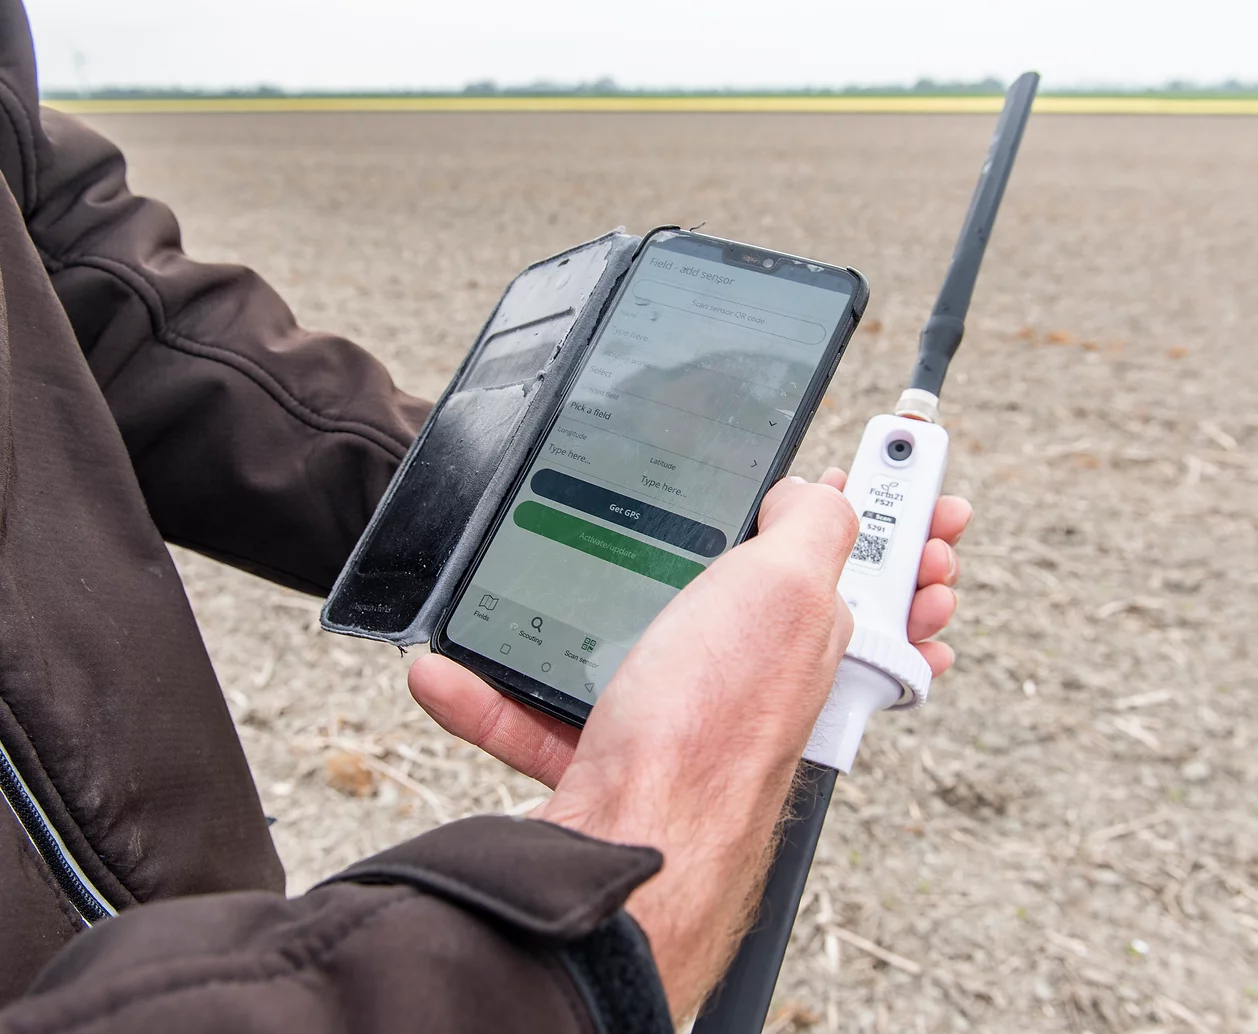
Now scan the QR code on the sensor. There are three ways to do this, you can either use your phone’s camera, the Farm21 app (Google play | App store), or any other QR-code-scanning app.
After scanning, a link to our website will appear. Follow that link and log in with your Farm21 account. Here you are asked to fill in all the details of the sensor. For example, the name, calibration profile, and location. You can now assign the sensor to the designated field on the platform.
When the sensor has been activated, it can be placed in the soil. To do this, make a hole in the soil with the supplied peg. Make sure not to wiggle the peg around to prevent the hole from becoming too wide. Press the sensor into the soil. Do this with care. The probe of the sensor needs to be completely in the soil, up to the point where only the white casing is visible. To make sure the sensor is easy to find, put a marker next to it.
The connection between the sensor and the soil will improve in the first few days.
Step 4 – Exploring your field’s data
The sensor is now successfully installed. The first measurements will be visible on the platform after a few hours. Next time you log in to the platform you will have access to all the sensor’s data.
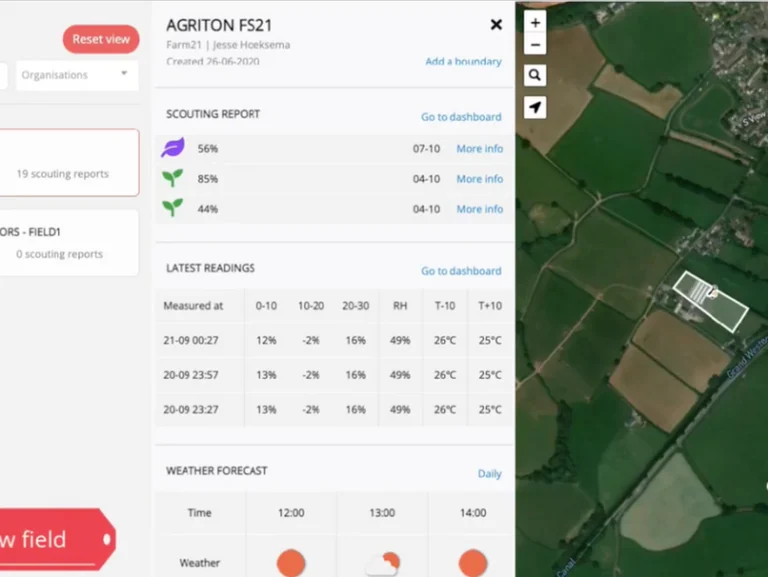
The default configuration includes information about the soil temperature and moisture at different depths, and information about the air temperature and humidity. Farm21 offers a range of other features that can help you make better decisions. There are weather forecasts and scouting reports plus optional satellite imagery. Combined with the FS21 sensor data, it is a powerful tool that gives you a complete insight into the quality of your fields and crops.
From this moment forward, you will have access to more data about your crops and fields than ever before.
This will help you to increase yields, save resources and grow crops more sustainably. Get in touch with Farm21 using the chat option or email us at [email protected]

